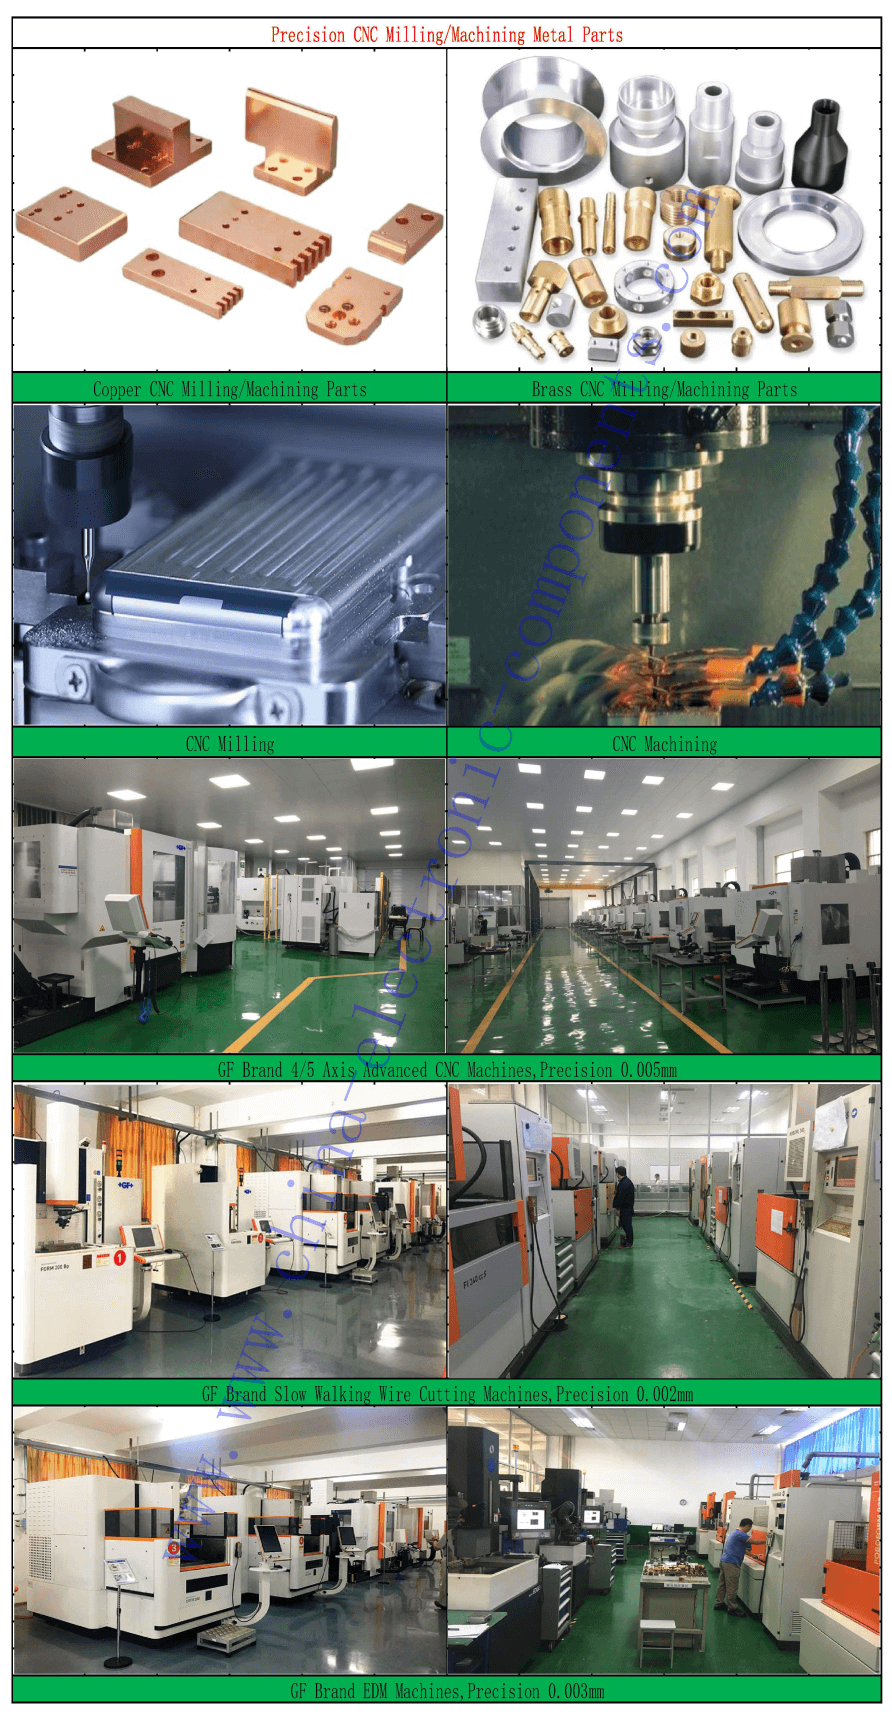

1- Products Name: Brass CNC Machining Parts
2- CNC Machining Metal Parts we can make:
Copper, brass, aluminum alloy, stainless steel, magnesium alloy, titanium alloy, zinc alloy and other metal materials.
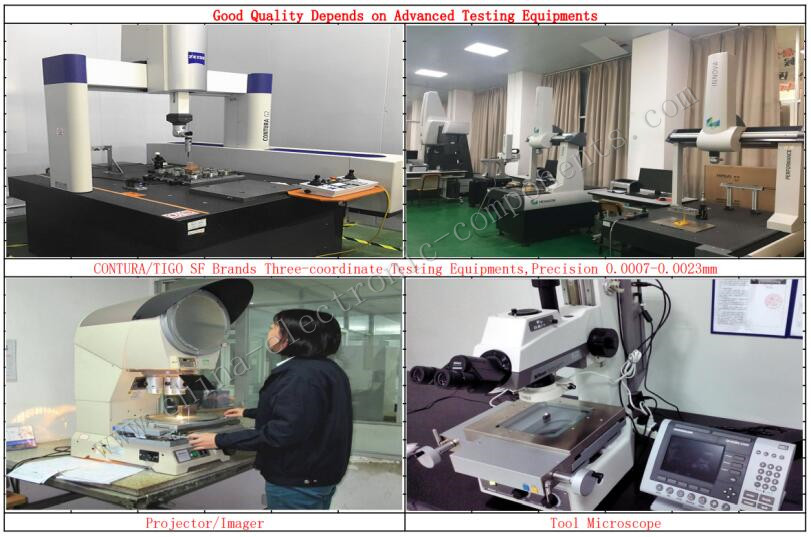
3- Dimensional accuracy of processing: ≥0.002mm, all depends on OEM required.
4-Surface Treatments:
Grinding, sandblasting, mirror polishing, spray painting, silk screen printing, laser engraving, anodizing, electroplating, chrome plating, powder spraying, etc.
5- Free Samples: 1-10pcs is allowed
6- Lead Time: Orders 5-10days,Samples 10-50days;
7- Packing: pearl cotton/blister box inside and carton/pallet outside
8- Certifications: ISO9001, IATF16949, RoHS, REACH, etc.
9- Production Capacity: 5,000,000 pcs/month
10- Applications: Automobiles, home appliances, monitors, medical care, military, aerospace, etc.

How to monitor and adjust during CNC machining?
After the workpiece alignment and program debugging are completed, it can enter the automatic processing stage. During the automatic machining process, the operator must monitor the cutting process to prevent workpiece quality problems and other accidents caused by abnormal cutting.
Monitoring the cutting process mainly considers the following aspects:
1. Process monitoring The main consideration in rough machining is the rapid removal of excess margin on the surface of the workpiece. During the automatic processing of the machine tool, the tool automatically cuts according to the predetermined cutting path according to the set cutting amount. At this time, the operator should pay attention to observing the cutting load changes during automatic processing through the cutting load table, and adjust the cutting amount according to the bearing capacity of the tool to maximize the efficiency of the machine tool.
2. Monitoring of cutting sounds during the cutting process. In the automatic cutting process, generally when cutting starts, the sound of the tool cutting the workpiece is stable, continuous, and brisk. At this time, the movement of the machine tool is smooth. As the cutting process progresses, when there are hard spots on the workpiece or the tool is worn or the tool is clamped, the cutting process becomes unstable. The instability is manifested by changes in the cutting sound and collisions between the tool and the workpiece. If the sound is heard, the machine tool will vibrate. At this time, the cutting amount and cutting conditions should be adjusted in time. When the adjustment effect is not obvious, the machine tool should be stopped and the condition of the tool and workpiece should be checked.
3. Monitor the finishing process. Finishing is mainly to ensure the processing size and surface quality of the workpiece. The cutting speed is high and the feed amount is large. At this time, attention should be paid to the impact of built-up edge on the machined surface. For cavity processing, attention should also be paid to overcutting and tool yielding in corner processing. To solve the above problems, firstly, attention should be paid to adjusting the spray position of the cutting fluid to keep the processed surface in cooling conditions at all times; secondly, attention should be paid to observing the quality of the machined surface of the workpiece, and adjusting the cutting amount to avoid quality changes as much as possible. If the adjustment still has no obvious effect, the machine should be stopped to check whether the original program is compiled reasonably. Special attention should be paid to the position of the tool during pause inspection or shutdown inspection. If the tool stops during the cutting process, the sudden spindle stop will cause tool marks on the surface of the workpiece. Generally, shutdown should be considered when the tool leaves the cutting state.
4. Tool monitoring The quality of the tool largely determines the processing quality of the workpiece. During the automatic machining and cutting process, the normal wear and abnormal damage of the tool must be determined through sound monitoring, cutting time control, pause inspection during the cutting process, and workpiece surface analysis. Tools must be processed in a timely manner according to processing requirements to prevent processing quality problems caused by tools not being processed in time.


Contact Information:
Mr.Terry Young (Sales Director&Technical Engineer)
Apollo Electronic Components (Xiamen) Co.,Ltd
Xiamen Apollo Stamping Welding Technology Co., Ltd
Add: No.225, Jinshang Road, Huli District, Xiamen City, Fujian Province, China, 361009
Mob/WhatsApp/WeChat: 0086-13859903038
Email: yfd@china-electronic-components.com
Web: www.china-electronic-components.com , www.stamping-welding.com
Since 1990, professional in Silver Contact & Core & Contact Riveting & Contact Welding & Metal Stamping Solutions for Relay & Switch & Contactor & Breaker, ect!